For Easter this year, I decided that I wanted to take a trip down memory lane and use decorated eggs as my table centerpiece. In the past, I’ve only dyed hard boiled eggs but was looking for a longer lasting option. Since we will most likely be decorating alongside a pair of tiny hands in the future, I knew that this Easter would be the perfect opportunity to try something new: blowing out the eggs.
I had no idea what to expect and envisioned at least one exploding egg, complete with raw yolk running down my face and shards of sharp shell in my hair. I figured that I’d go through an entire carton, cracking eggs left and right, before one emerged unscathed. Needless to say, I did not have high hopes for this project. But, I am happy to say that this apprehension was completely unfounded.
Blowing out eggs is super easy! Yes, it does take a bit of lung power but once you get the hang of it, it’s actually quite fun. And, wonder of wonders, there were no “eggs-plosions” during this process.
So, for all of you other egg blowing newbies out there, here’s a few simple steps to get you on your way:
How to Blow out an Egg
 Supplies:
– Raw Eggs (as many as desired.)
– Access to a tap with hot water & soap.
– A sharp nail or small pick.
– A small straw or similar instrument (I used a medicine syringe).
– Something to hold the egg steady (ex: empty egg carton).
– Container to collect egg yolk.
– Toothpick or unbent paper clip.
1. Start with a raw egg and thoroughly wash the outside of the shell with hot water and dish soap.
2. Place the egg somewhere steady and beginning with the pointier end of the egg, carefully poke a small hole in the top of the shell. The hole should be smaller than the end of your straw. I used a hook tool and small nail. If you’re planning on using the yolks later for baking, make sure to sterilize your tools first.
3. Poke a toothpick or unbent paper clip through the newly created hole. You want to try and break the yolk inside the egg so it’s easier to get out.
4. Turn the egg upside down and poke a slightly larger hole in the bottom of the shell.
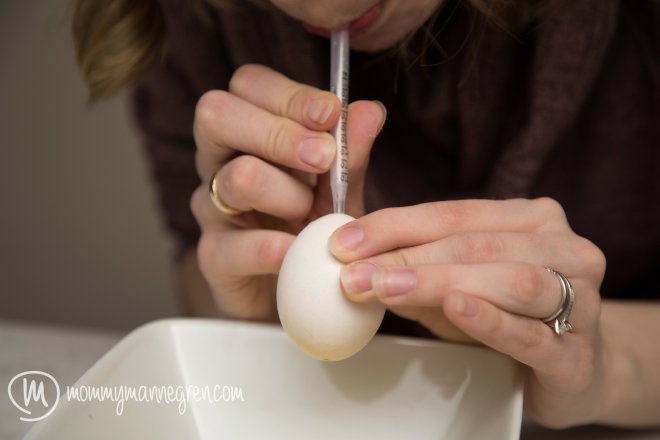
5. To blow the yolk out of the egg, place a straw against the smaller hole. Ensure that the hole is entirely covered by the end of the straw and blow. I used a medicine syringe instead of a straw. (Don’t worry, I won’t use it again for medicine…) I found the syringe to be more solid and thus easier to use.
6. Keep blowing until nothing but air comes out from the egg. This will take several tries. If there is a blockage, use the paper clip to help loosen the yolk.
7. Once the egg is empty, rinse the shell under hot water. Fill the egg with a little hot water and swirl it around to clean it, then blow the water out. I wanted to decorate my eggs immediately after cleaning them, so I placed them in the microwave for 10 seconds to help dry any water droplets left inside.
The challenging part of this project was blowing all the yolk out. My husband helped with an egg, promptly gave himself a headache and went to take a bath. I ended up only doing four eggs the first night because it took quite a bit of huffing and puffing (but I do have a notoriously small lung capacity). Also, I accidentally made one of the bottom openings a little too big, but the yolk obviously came out of that egg a lot easier, so that’s something to keep in mind if you’re having difficulty.
I actually really enjoyed blowing out the eggs and am excited that they’re so much more durable than the hard boiled equivalent. They’re not as delicate as I thought they would be but still too fragile to use for decorating with little ones. Also, it’s a strangely amusing process to watch someone blow out an egg. Andreas and I had more than a few giggles imagining what our neighbors would think if they could see us through the window.
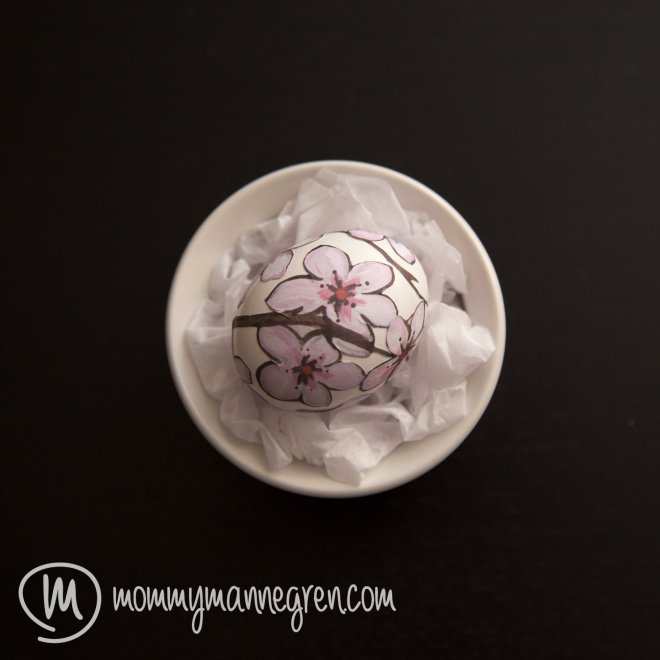
Here’s a sneak peek of how I ended up decorating the eggs:
What do you think? Are you planning on decorating eggs this Easter?


totally gorgeous!!!! <3 <3 <3
What an interesting idea! I’m making beaded eggs, though it does take a while to make 🙂
Ooh, I’d love to see them once they’re finished!